Studio711.com – Ben Martens

lasercutter

Laser Cutter Puzzle

The idea of making a custom puzzle has always intrigued me. I’m partially interested in the computer science problem of generating an random puzzle with an arbitrary size, and I’m also interested in the physical process of making it happen.

That computer science problem has been on my list for a long time, but finally I realized that I shouldn’t block the whole project on getting around to writing that code. It took a lot of searching, but I finally found a good, free online tool: Wolfie’s Puzzle Generator.

The next step was to pick a picture. A good picture has a lot of visual interest so you don’t have huge areas of “blue sky” pieces. I wanted to make this as a Christmas gift for Mom so I also wanted something that meant something to her. I settled on a picture of the Seattle waterfront that I’m pretty sure I took while they were out here visiting. I cropped it down to get rid of most of the boring blue sky.

I printed off a 16×20 version of that at Costco and then used 3M spray adhesive to attach it to a thick art board from the craft store. By the way, at 240dpi, this image was almost exactly 20″ wide with no scaling. The picture looks gorgeously sharp. It’s incredible how good modern digital cameras are!

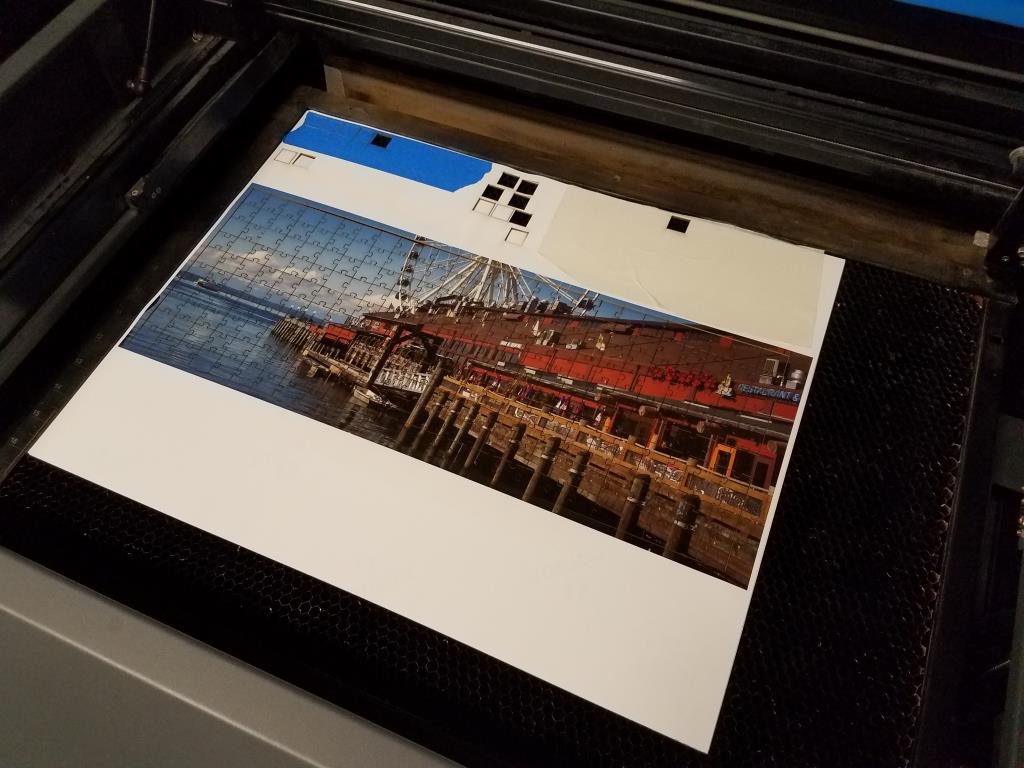
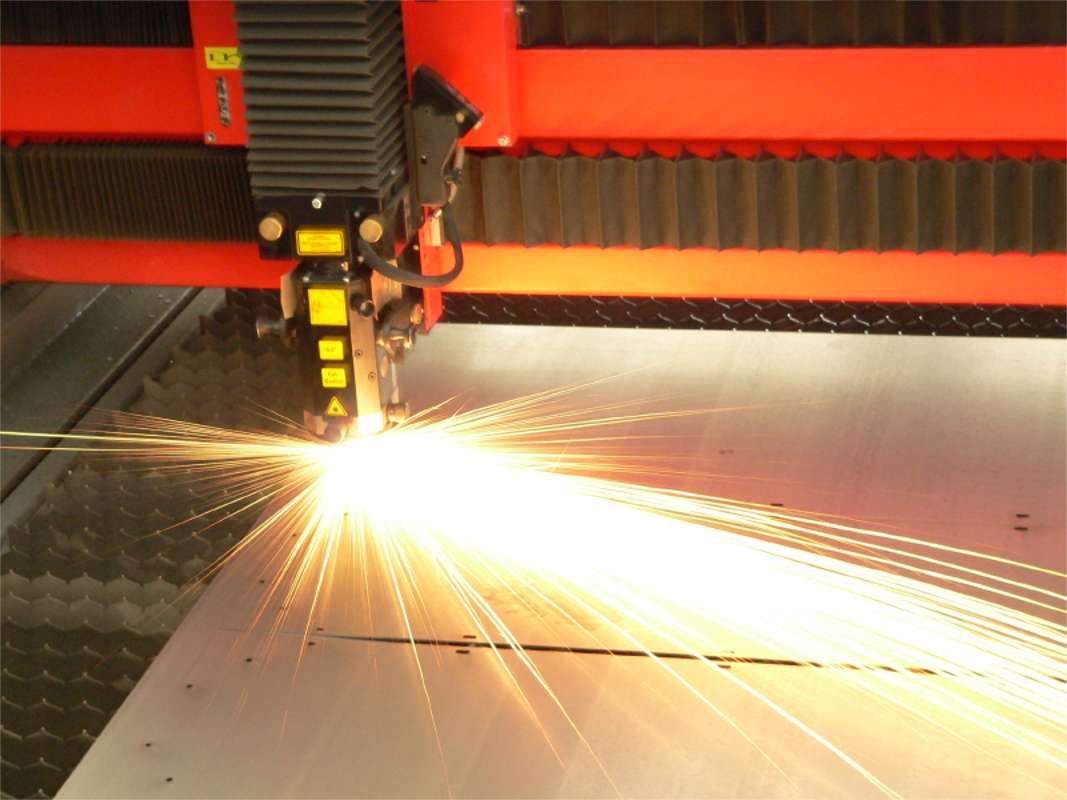
Then it was off to the laser cutter. I spent a long time messing around with various tapes trying to find one that would help protect the surface from burning but also would peel off easily after being cut. I never succeeded. Maybe my adhesive wasn’t strong enough, but for some reason the tape would always pull off with the picture instead of leaving the picture stuck to the art board.

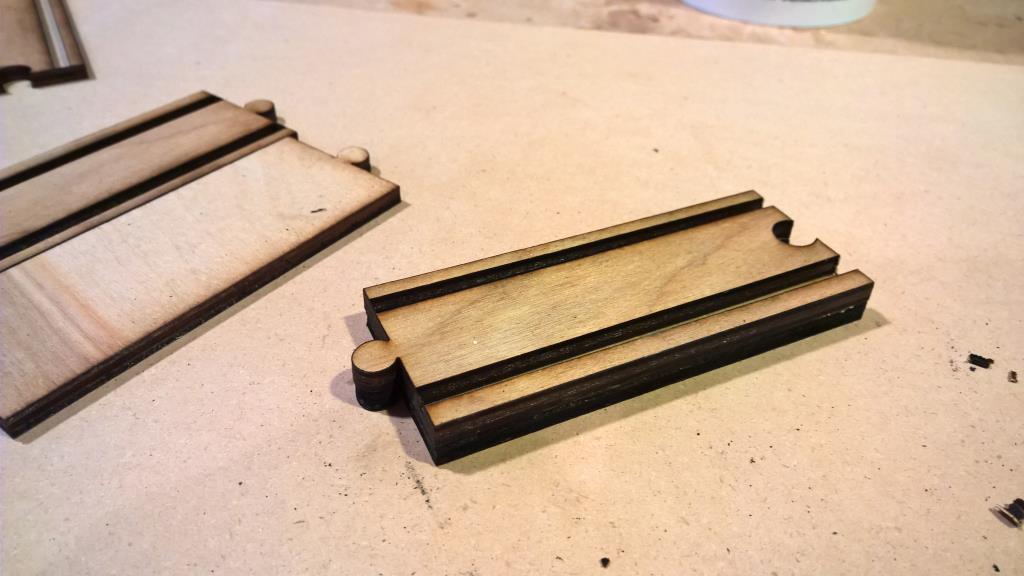
I settled on doing three light passes to slowly cut through with minimal burning. You can still see some burning around the cuts but the picture hides a lot of it. I wanted to make a 1000 piece puzzle but I only squeezed 260 in there due to the dimensions of the pictures and not wanting to make microscopic puzzle pieces. These were 0.75″ square so they were already pretty small.

I don’t expect this puzzle to hold up to a lot of beating but hopefully it will at least work once! If you want to see a video about this, David Picciuto has a making a laser cutter puzzle.

Laser Cutter Marquetry Butterfly

Search for “marquetry” images and you’ll be blown away at the art form of combining small pieces of wood to make amazing pictures. I’ve been intrigued by this, but I’m a nerd so I did it on a laser cutter. I thought it would be way easier and it probably was…. but it was still a challenge.

A while back, David Picciuto from Make Something sent me a box of small wood scraps. There were a lot of very interesting species in there, but they were so tiny it was hard to think of something to do with them. (Kinda makes sense why he would give it away, huh?) Then I hit upon the marquetry idea.

A butterfly seemed like a good first attempt so I found an image online that was close to what I had in my head and then tweaked it and made it into a laser cutter file. I spent many hours tweaking my design with test cuts at the laser cutter to get it as intricate as possible without making pieces so small that the kerf of the laser would totally obliterate the tiny piece.

In the end, I combined coconut palm, walnut, maple, purple heart and a couple other woods that I don’t know the names of to make the butterfly you see below. It’s pretty fragile, especially the antennae, but it at least held together long enough to take a photo. The dark outer wood is the coconut palm. In addition to the top border that you see, I also cut a solid bottom piece that everything glues on to.

This one is a Christmas gift for Mom. Merry Christmas!

Wood Sign

Router-carved signs are a common sight at fairs or even in pop up shops at the mall. I’ve been watching a bunch of Dave Rhoten’s videos on YouTube and finally I decided it was time to try it for myself. I purchased a Dewalt DWP611 along with two special router bits and a nice base plate from Dave’s store.

I bought 1×8 select pine from Home Depot (mostly knot free) and put on a couple coats of shellac. Then I used the laser cutter at work to draw the letters that I wanted to cut. That made the layout portion of the project very easy!

The next step was the most time consuming. I used a very narrow V-bit to carefully cut around the outside of every letter. Then I put in a bigger 90 degree V-bit to draw the big cloud around the outside and cut out everything between the cloud edge and the edge of the letters.

After a little cleanup with some chisels to remove any remaining high spots, I covered the whole piece in black spray paint. When it was dry, I sanded the top which removed the paint from the letters and the part outside the cloud leaving the indented part black. The shellac coating helped to keep the paint from bleeding too deep into the wood on the parts where I didn’t want it to stick.

Finally I used my keyhole bit to cut a slot in the back for a screw or nail so it could be easily hung on the wall.

This was a gift for Don’s brother and his wife in Montana as a thank you for letting us stay with them. And since I was making one, I decided to make two and give one to Don as well. It’s a fun and relatively quick project, but it takes patience!

Happy Birthday Tyla!

Happy birthday Tyla! On Saturday she chose to spend some time down by the river in Monroe, Sunday afternoon was spent eating fried chicken with her family and playing board games, and then tonight we are going out for Thai food. That should do a pretty good job at filling up her love cup.

I was happy to finally share a project I made a few weeks back. I laser cut a tree out of a piece of cherry plywood and then dug a mortise out of a block of walnut to hold the tree. The idea is that this can sit on her dresser and hold small jewelry. I used a random scrap of walnut and it had some beautiful grain in it that was perfect for this project.

I didn’t invent this so if you’re interested you can see lots of variations of this idea on Etsy and various craft sites.

Laser Cut Decorations

If you talk to Elijah, the first thing you’ll probably hear is that he is four now. For his birthday, Tyla came up with the idea of a Winnie the Pooh theme because that’s pretty much the only thing that Elijah watches or listens to these days. He had a Tigger shirt, a cake with all the characters on it and decorations around the house. Thanks to Tyla for putting that all together!

She also had the idea of having him hold a large 4 and posing for some pictures. Instead of buying one, I decided to cut it out on the laser. I did two of them with the top one also having his name cut out. I painted the top piece yellow, painted the bottom piece black, and then glued them together. The hardest part of the idea was getting a four year old to smile and look at the camera!

Tractor Sign

For Dad’s birthday, I spent time drawing a picture of his tractor. It might take a lot of hours to get to the point where you have your file ready to cut, but after you get there, it’s just minutes to cut a new copy.

I decided to cut out a big one and put it on Elijah’s wall. The max work piece size that our laser cutter can handle is 24 x 18 so that’s about how big this one is. I sprayed on a couple coats of white paint but still let the wood grain show through. As you can see in the picture, he was VERY excited to put this on his wall.

Laser Cutting At Home

I’m very thankful that I can use a laser cutter at work, but what are the options for laser cutting at home? There are three very easy and low cost options to start with:

  1. Check with your local library. More and more libraries are supplying laser cutters and 3D printers for people to use.
  2. Order it from a website. I’ve done this for 3D prints before but the same concept applies to laser cutting. The turnaround time is slower and you pay for shipping, but it’s a lot cheaper than buying a machine!
  3. Find a local maker space. These are generally clubs that you can join and use their equipment. You pay a membership fee or you pay to rent time on a machine, but doing it this way helps you iterate faster than doing it by mail.

If you still want to buy one for home use, you should probably be getting advice from someone more knowledgeable than me, but here’s what I know. If you buy an entry level system from a company like Epilog or Universal, expect to pay upwards of $8000, and that might not include ventilation which is almost a requirement.

A company called Glowforge is making a lot of waves in the maker community because they are coming to market with a laser cutter intended for home hobby use. It has a lot of really nice features that lower the barrier to entry, and you can get their basic model with ventilation for under $4000. Reviews of pre-production units are very positive. The cost of ongoing maintenance remains to be seen.

It’s a great time to be a maker!

Otis Sign

I made Dad a new sign for his garage this summer and decided that he needed one more for his birthday.

Dad has a 1954 Allis Chalmers WD 45 tractor. It came with the house and he has done a lot of work on it to keep it running faithfully for the last 32 years. It gets a lot of use in the winter because that’s how he keeps our 1/4 mile driveway plowed in the winter. Elijah LOVES that tractor and named it Otis after one of the book series that he likes.

I found a good picture online of that same tractor and spent a bunch of time drawing it. There are some tools in Inkscape that help to trace the lines of the image based on color and edge detection, but it still results in a lot of manual work to clean it up and reshape the mistakes. Once I had the image file, it was just a matter of cutting it/engraving it out on the laser cutter.

I tried to make a totally different design than the first sign. This one is pretty simple looking but I think it came out nice. Now that I have the vector file of this drawing saved on my computer, I might revisit this one again in the future. I’m thinking about making something for Elijah’s room so that he and Papa can have similar signs hanging up.

otissign

Garage Sign

My parents have been building a fantastic new garage at their house. I thought it would look good with a new sign in it. I found some inspiration online, drew it in Inkscape and then took it to the laser cutter at work. The sign is made out of two sheets of 1/4″ MDF. The bottom is just a circle and the top has all the shapes cut out of it. I also cut the white portions out of 1/8″ plywood and put that under each of the white pieces. That gave it a raised look which I really like. After I got it all done, I realized I probably should have put “Martens Garage” instead of just my Dad’s name because Mom uses it for her project too but, oh well. Maybe I’ll have to come up with something else that has Mom’s name on it.

garagesign1 garagesign2

Train Track Fail

I’ve had a lot of projects go really well lately, but there’s one that has continued to haunt me and I’m officially tossing the idea. I give up.

Tyla found some motorized Thomas the Tank Engine trains for Elijah. They aren’t the size of the standard wood tracks, but they do make plastic tracks. I thought it would be fun to make my own tracks because then we could have whatever pieces we wanted and it could exactly fit on his play table.

The first few attempts involved etching the wood repeatedly to burn in the tracks. I tried multiple times and finally got the interlocking knobs to fit properly, the curves to be big enough that the train could make the turn, and the rails to be the right width. The problem was that they were never deep enough to hold the train in place. When you’re etching wood, you can only take so much off at a time before it starts the wood on fire, so these attemps amounted to hours and hours in front of the laser cutter watching it slowly take away material. Here’s one of my best attempts with that method. It was rare for a train to make an entire circuit around the track without falling off and I eventually tossed these in the trash.

I gave up for a couple months and then had the idea that maybe I was approaching the problem backward. Instead of trying a reductive process of burning away material, why not do an additive process? I cut one piece that formed the bottom of the track segment and then the top segment was made of three pieces: the middle and then the two outer edges. The “rails” were left blank on that top piece. So the whole segment was two thicknesses high but the rails were only one thickness high. These were very quick to cut and it didn’t take too long to glue everything together. I thought for sure this would work but… the bottom of the train drags on the middle piece and the wheels can’t get to the bottom of the groove to push the train along. Fail. In the trash it goes.

thomastrackslaser

If I spent enough time I could probably figure out the right way to do this, but this project has ceased to be fun and if I decide that I really want Elijah to have tracks, I’ll spend the $26 on Amazon so he can have tracks that actually work.

It wasn’t a complete bust because I learned a lot about the laser cutter and fine tuning designs, but it stinks that I don’t have anything physically complete to show for all that time.