I’ve been working with maple for a couple years, but I’ve never used “curly maple” before. The Wood Database describes it as a maple board where “the ripples in the grain pattern create a three dimensional effect that appears as if the grain has ‘curled’ along the length of the board.”
It’s generally expensive to buy since it’s somewhat rare, but Crosscut Hardwoods in Seattle had a stack of ~30inch long boards that had some curl in them. I picked up two of them to play with and I ended up attempt a small box.
You’d think that a small box would be simple, but it seems like the smaller your project is, the tougher it is to get it right. Tiny gaps and imperfections are a lot more noticeable on small projects.
The first thing was deciding what size box to make. Based on the wood I had available, I went with 3″x5″x8″. Fun fact, if you want a box to look “normal”, use the Fibonacci sequence to determine your dimensions. It’s a close approximation for the golden ratio of 1:1.61803399. Fun fact #2, if you follow that rule, your box will have the same ratio between the dimensions as the Parthenon.
Jointing and planing the curly maple was a challenge. Even though I had recently replaced the blades on both machines, that curly grain is extremely subject to tear out. I took very light passes and did a lot of sanding. A drum sander would have come in very handy to make all the pieces a uniform thickness without tear out.
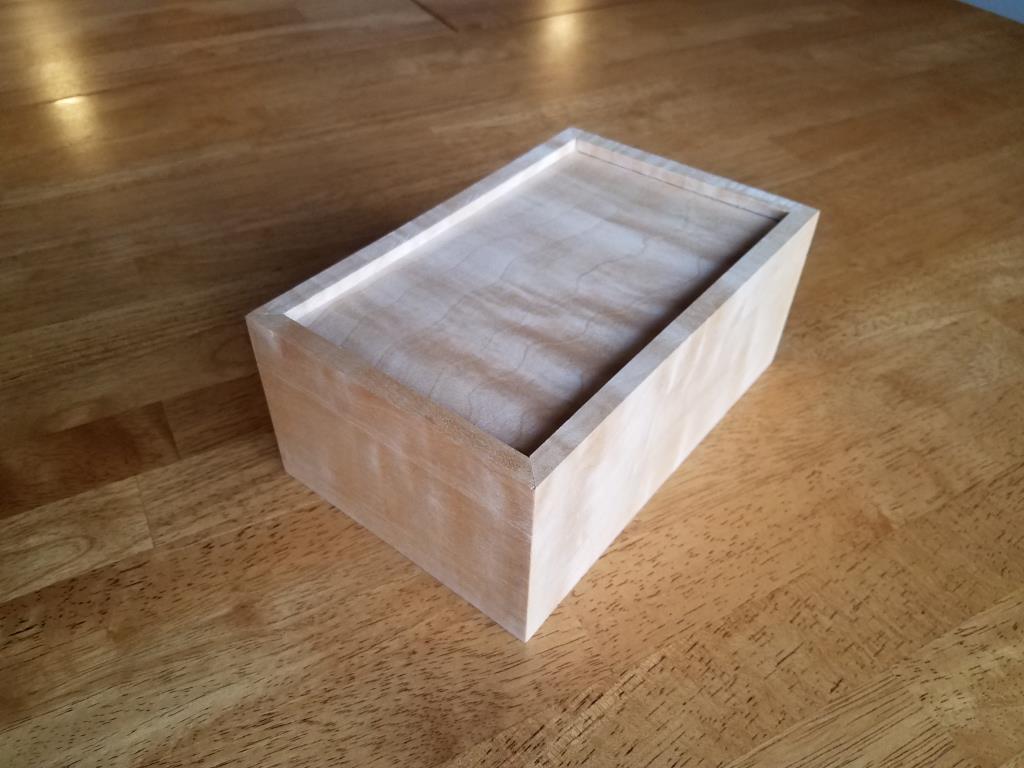
For the box construction, I mitered the four sides at 45 degrees on each end and then created a dado for both the top and the bottom panel. I glued it all together and ended up with a box that had 6 sides and no way to open. Then I moved over to the table saw and sawed it in half, being careful to insert spacers into the kerf that I had just cut so the box wouldn’t pinch the blade and eat me.
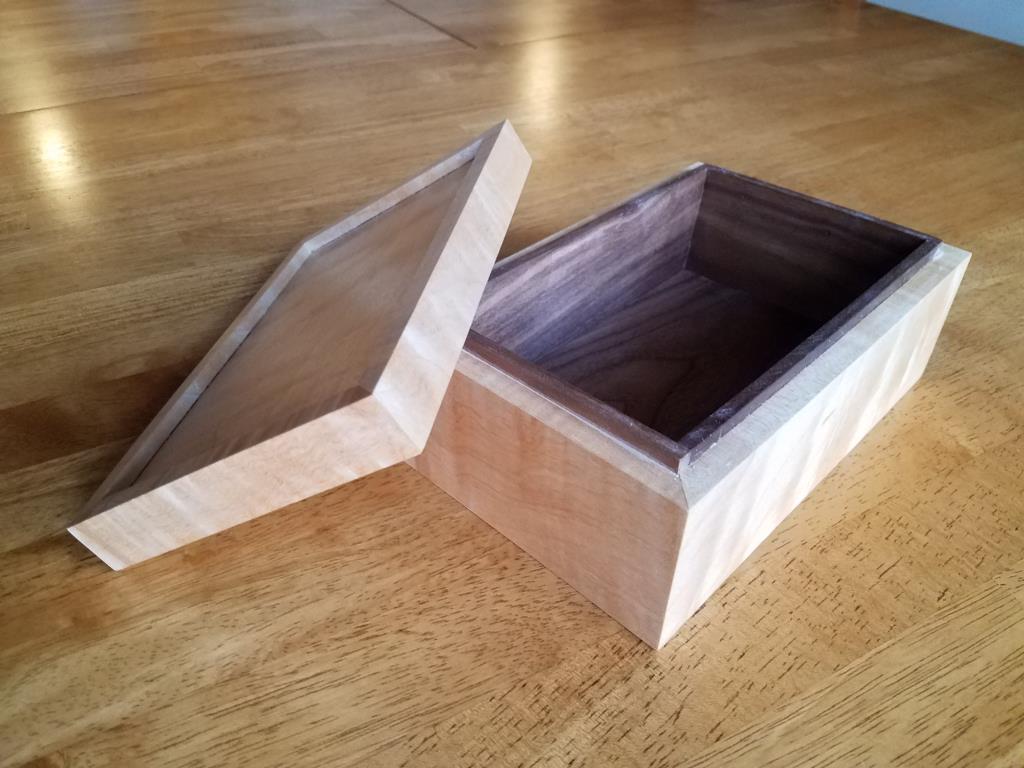
There are multiple methods for creating a snug-fitting lid. I chose to line the inside with walnut and leave the sides of the walnut a little taller than the interior of the box. With a little sanding and finessing, the top fits perfectly over that interior lining. I finished the whole thing off with a couple coats of shellac.
I learned a lot making it which is code for “I made a lot of mistakes, some of which I couldn’t recover from”, but I think this one will be good enough to sit on my dresser without annoying me. The grain is beautiful when you hold it up to the light and see how it changes. The pictures don’t do it justice.