Studio711.com – Ben Martens

Search Results

Filling The Garden Boxes

The garden box project is done and ready for sunshine. Elijah and I got a load half dirt, half compost) from Pacific Topsoils and filled the boxes. It took about 1.3 yards to fill the beds and thankfully they are generous with their loads there so my 1 yard purchase was perfect.

I made a timelapse of the build and filling the beds. It’s fun to watch the truck rise up as we unloaded. The unloading was very easy since I could back right up to the boxes. Elijah was having a BLAST helping with that part. It’s so nice to have my own truck to get these kinds of jobs done!

Garden Boxes

A couple of our neighbors have pretty successful raised garden beds, and this year, Tyla and I decided to jump on the bandwagon. There’s a natural spot for them where the cherry trees used to be beside our driveway. It’s even plumbed for drip irrigation already.

This was the first time I’d ever built boxes like this but I used our next door neighbors for inspiration. It’s basically two 2×8 boards stacked on stop of each other with 4x4s as the corner. I dug down to level the boxes out and then pounded 4x4s into the ground to keep the boxes in place. The ground was very soggy so all of that was pretty simple. The hardest part was just keeping the box aligned correctly. It was rainy pretty hard for most of my project so I skipped a lot of the steps that probably would have saved me time like staking a line to help keep everything straight. Elijah thought it was a pretty fun project and helped for a bit before it got too wet and he went inside. He was the smart one because I ended up soaking wet. I finished them off with 1x4s around the top partially to hide my mistakes and also as a place to set tools and sit down while weeding.

I used cheap pine for this. I didn’t want anything treated since I’m not sure that is food safe. I should have probably used cedar but that was about $250 extra and I wasn’t willing to pour that much money in. We’ll let these go for 5-10 years until they rot and by then I bet I’ll have other ideas anyway.

The next step is getting the drip irrigation plumbed to the right spots and then filling the boxes with dirt.

Cedar Garden Bench

Elijah’s school is having another charity auction this year. I got ahead of the game and donated another wooden flag since those are fairly simple and it brought in a lot of money last year. A couple weeks ago, the school posted on the parent teacher group asking if someone would be willing to make a garden/potting bench. I don’t have enough to do so I volunteered.

My first step was downloading the Potting Bench plans from I Like To Make Stuff. This project isn’t rocket science, but it’s so nice to have all that thinking done for me. I was able to walk into Home Depot and get the right amount of wood in a single trip. I made a few changes to the plans though: I didn’t add the sink in the top and I made two shelves along the top instead of one. Since it was all screws and butt joints, I was able to finish it in a weekend.

To add a little more to the project, I tried out my new diamond drag engraver bit for the CNC machine. I used it on a random tile that I bought at Home Depot. I picked a vaguely garden-related Bible verse (you have to squint and kind of take it out of context) and found a good SVG on Etsy that I could alter for my purposes. I didn’t etch is super deep, but when you’re up close, it’s easy to read the message and see the flowers on the sides.

I think that this is going to be part of a classroom project. The kids will donate related gardening supplies and then it will all get auctioned as one unit.

And since I was curious about wood prices when I started this project, I’ll share that the wood and a box of screws came to just under $200. It’s cedar so it will weather nicely outside or easily accept stain, but you could probably save a little money if it was pine.

Garden Update

We started off the year having very little idea of what our garden would actually end up growing. Turns out, it worked pretty well! The box by the street has some strawberries and two zucchini plants. We did get some strawberries but that will ramp up quite a bit over the next two years as the plants mature. The zucchini have been producing like crazy. I think we might just do one next year.

The box closer to the house has a few more strawberry plants and six sun gold tomato plants. Having six of the same plant is overkill. I started a few different varieties in the house, took careful notes about which seeds were which, and then ignored all the notes when I picked the six healthiest plants to move outside. Oops.

Here are some changes that we’ll consider for next year:

  • Two zucchini plants is a lot. Maybe do one zucchini and one rhubarb?
  • I think it makes sense to put all the strawberries in one box. They are going to overrun whatever container they are in.
  • The drip tubing worked great, but maybe instead of carefully placing each emitter, I could use the small area sprayers.
  • Don’t try to start plants. It sounds like a great idea, but I did a terrible job guessing when we’d be ready to move plants outside. Warm weather came much later than expected and it was tricky to manage the big plants inside the house.
  • Tyla wanted to plant flowers but I think we waited too long for the seeds to take hold (too hot and too much shade from bigger plants.)

But all in all I call this year a success!

Strawberry Planter

We’ve gone through a variety of attempts at having a garden over the years. It’s tricky with the lack of sun on our lot, the local wildlife, and our inability to make things grow. In 2019 I made a strawberry planter for the back yard. In 2020, the birds were eating all of the berries so I tried to make a cage around it but it was too bulky.

I had a lot of time to think about how to design a better cage and I think this year finally hit on a winner. While the frame is held to the planter with screws, I could remove about 4 screws and the whole thing would fold flat. I didn’t really want it up all winter because I don’t think it would hold up to snowfall.

The front face is held in place with some hooks I bent out of wire and bird netting covers the whole thing. We’ve seen zero birds in there and we got a lot of strawberries! We’ll never recoup our investment in the planter even ignoring all the time I put into the cage around it, but it’s still enjoyable to grow something and eat it. The picture below shows the front face pulled off and leaned against the cage.

Plant Bench

Elijah is getting interested in how things grow and we’ve talked about having a garden, so this year we decided to go for it. I thought it would be fun to start plants from seeds inside. We have a great bay window in the front room which would be a perfect spot, but we just had a cardboard box sitting there with one plant on it. It was time for an upgrade.

I bought some mahogany mostly because I had never worked with it before (aside from a cutting board project) and it seemed like a good excuse to try it out. I learned that mahogany creates incredibly fine dust! EVERYWHERE. But overall it wasn’t nice to work with.

My original plan involved using floating tenons for the first time. You cut a mortise into each board and then make a tenon by itself and glue it into each side. It’s kind of like an elongated dowel. But alas, I could never get my test pieces to go very well and I eventually tabled the idea for later use. Since I had already cut the pieces to length for that joinery method, the only real solution was pocket holes. I felt totally ridiculous using pocket holes on a nice hardwood, but oh well, it worked and it was easy.

Once I made that change, everything went together quickly. I used a teak oil finish which was new for me. It wiped on easily and I put a few coats on in hopes of protecting it just a little from spilled water and the sun. I still think that in a few years we’re going have obvious fade marks where the plants sit.

The end result looks nice and aside from my joinery skills fail, I’m happy with how it turned out. It’s plenty big enough to hold lots of plants and it’s short enough that ELijah can easily see it and help out with the watering.

Tree Removal

We had two small cherry trees along our very short driveway. The blossoms looked beautiful in the spring but the trees were ugly the rest of the year. They were pruned very oddly and were starting to die off. The one closer to the house had a crazy root structure with a number of very large roots partially above the surface. It was time for them to go before they died more and started dropping branches.

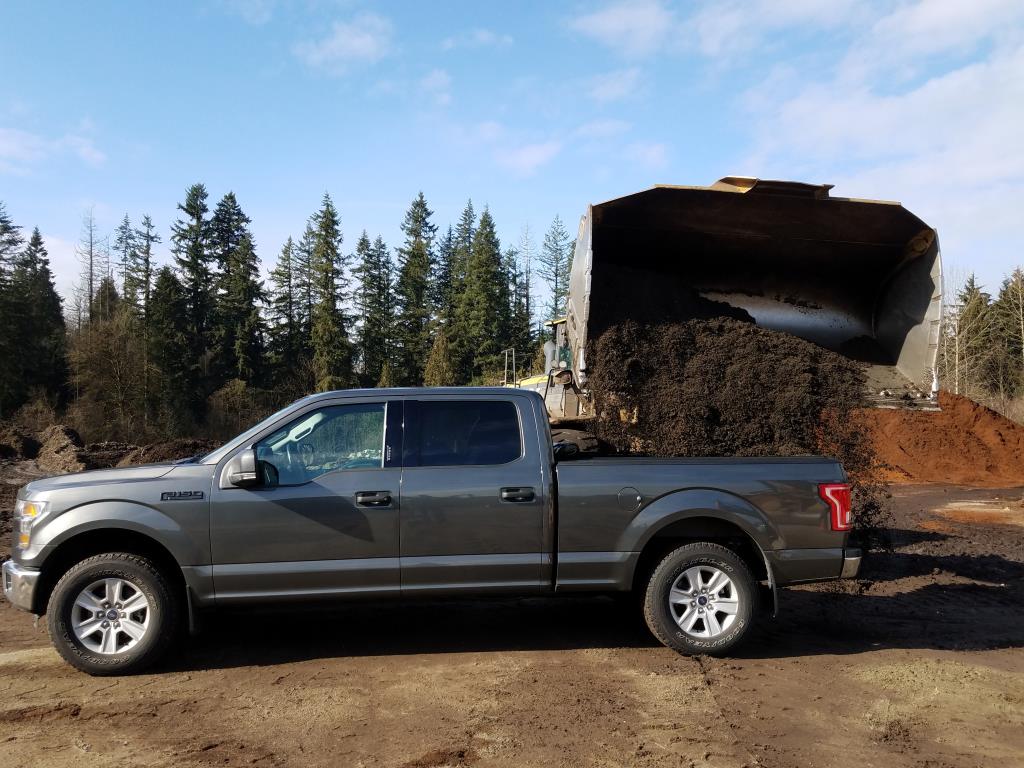
Logan was kind enough to help me out with the whole process. We made quick work of them with a chainsaw and manual branch cutters. As we cut them up, I was amazed at how many of the branches were totally dead. Taking it down was a good decision. We each took a load of the branches to Pacific Topsoil and we were done with that part.

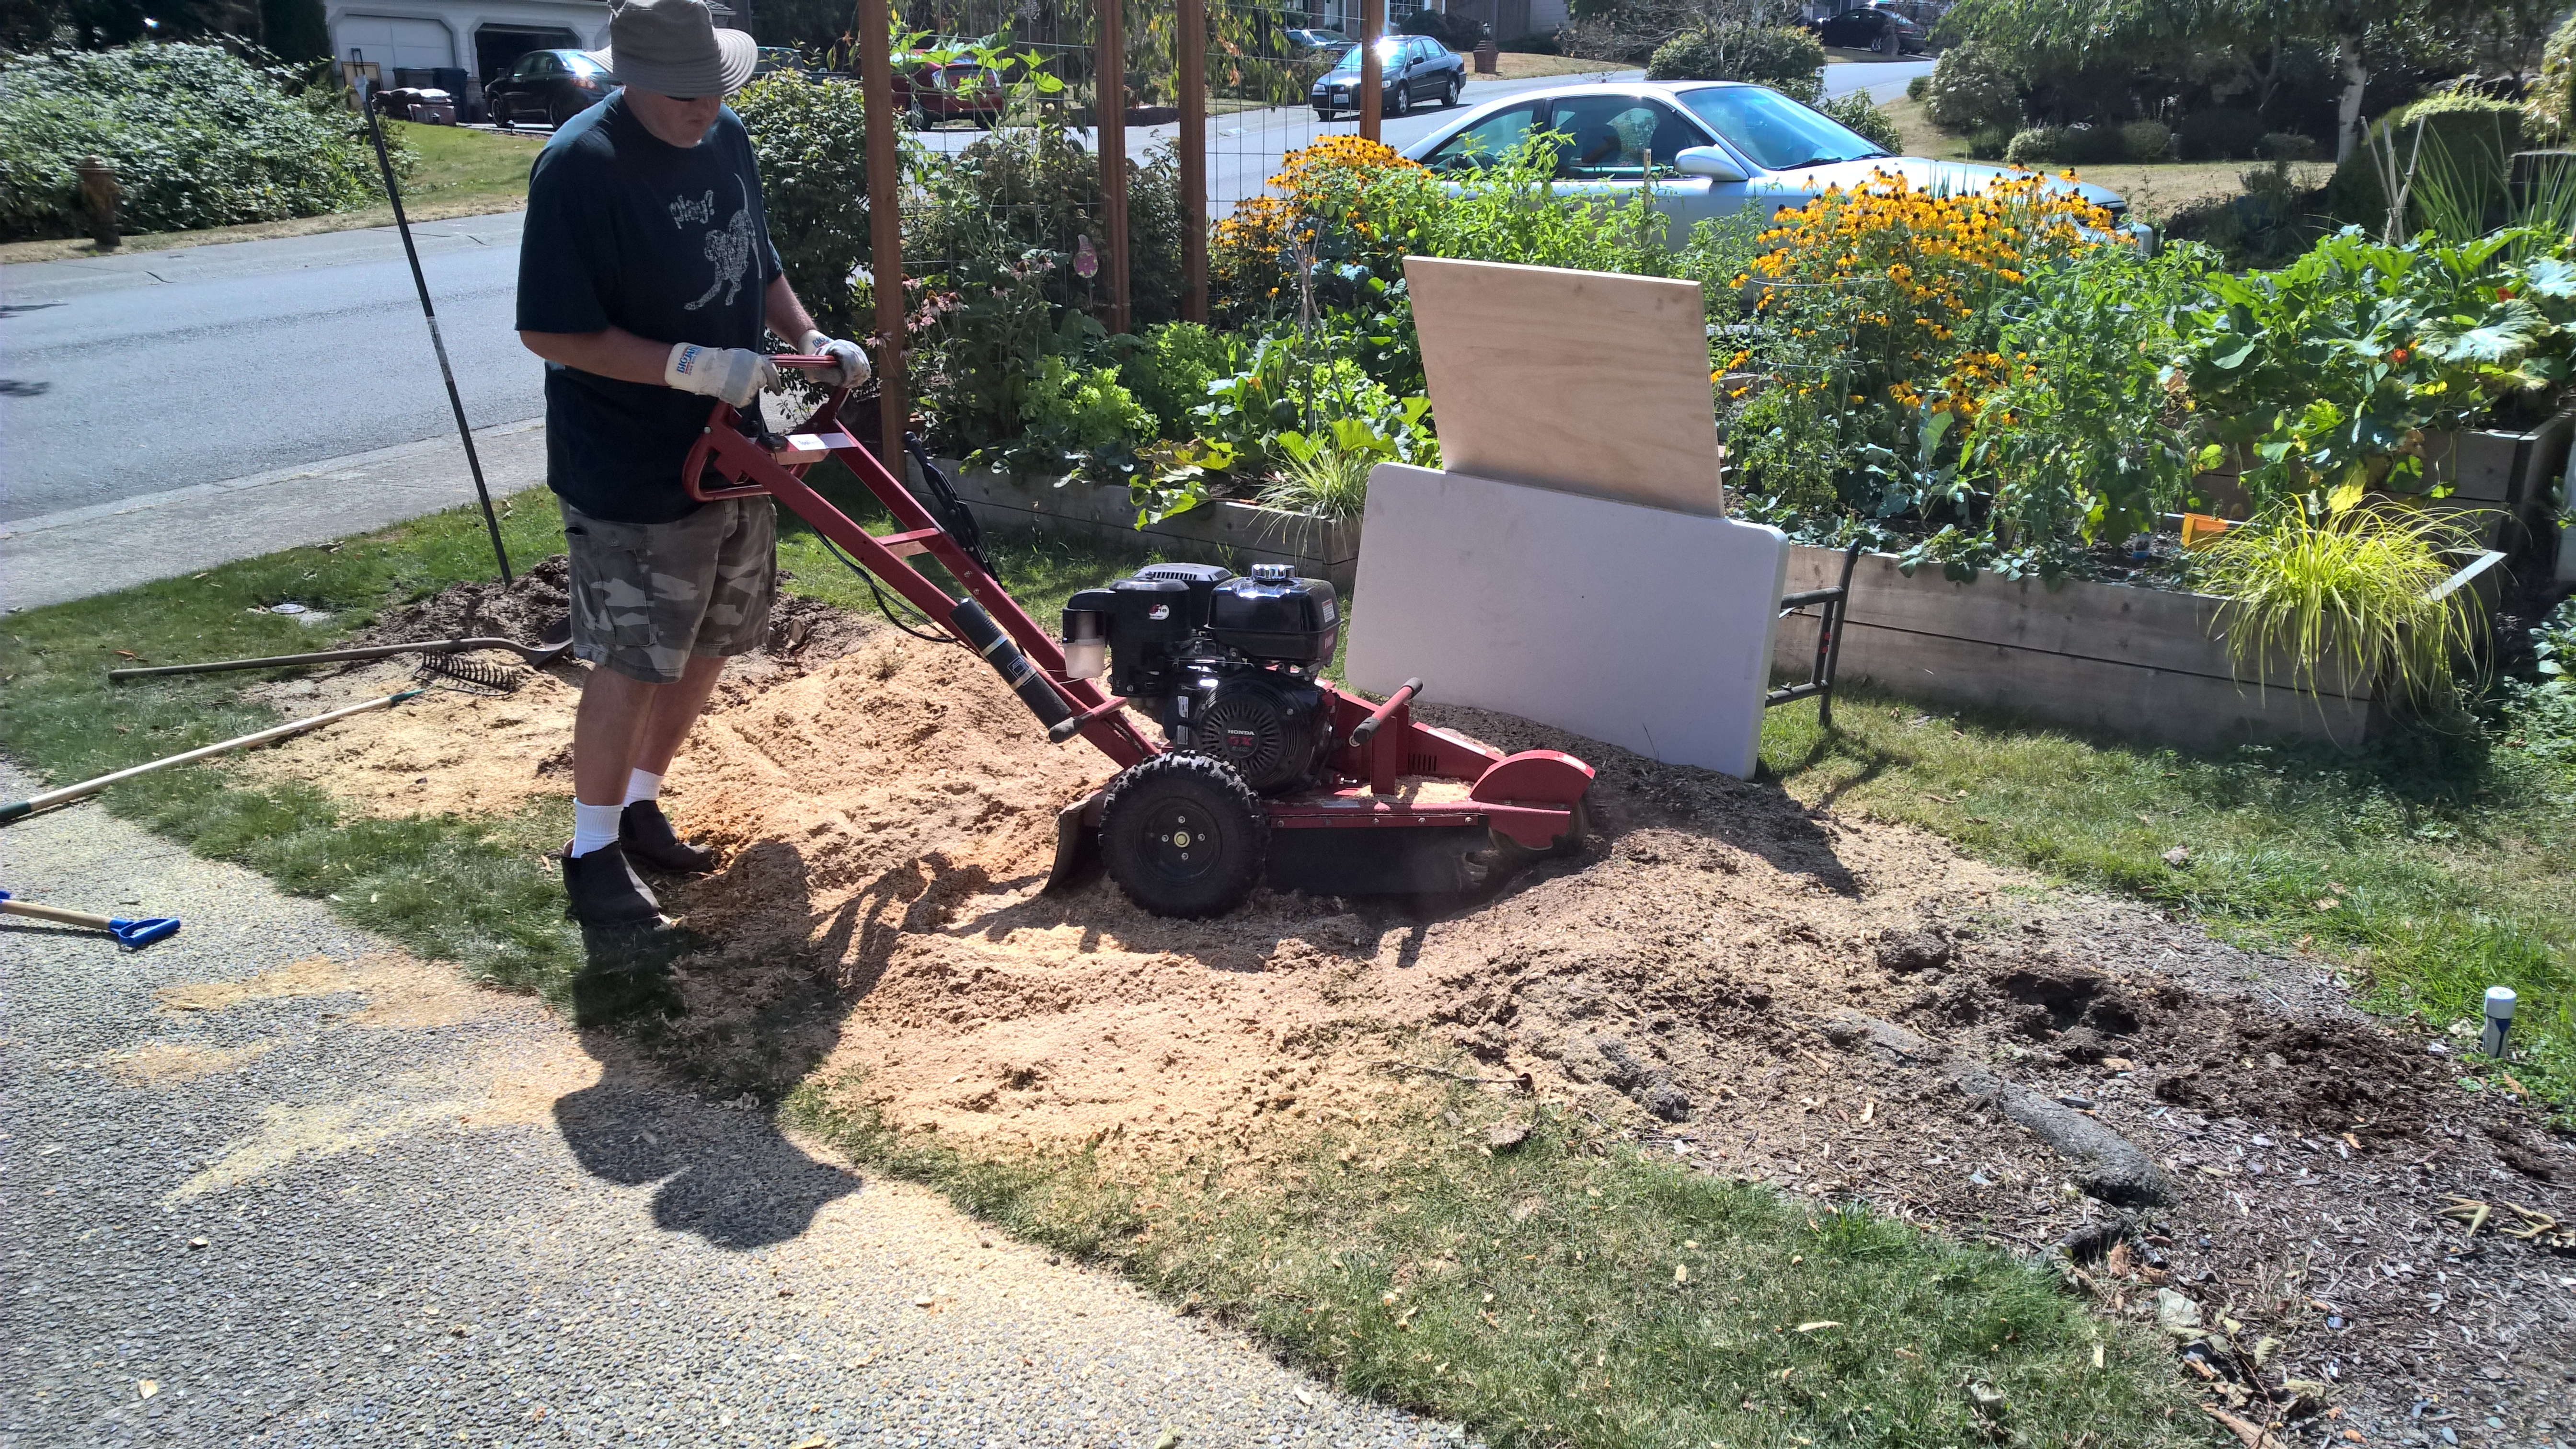
Then there were the stumps. Oh yeah. When I was planning this project, I figured we would just dig them out and maybe use the truck to help pull them out. A little digging revealed that would be a huge project and i was also nervous about the water, gas, communication and irrigation lines that run up that strip of property. Brute force didn’t seem like a good approach so we rented a stump grinder instead.

The first stump was very quick but the second one took us about two and a half hours because of the big network of large roots near the surface. We made a mountain of wood chips but we got it all done. Now I just have to feed those chips into my yard waste bin over the next week or two if I can’t find a use for them.

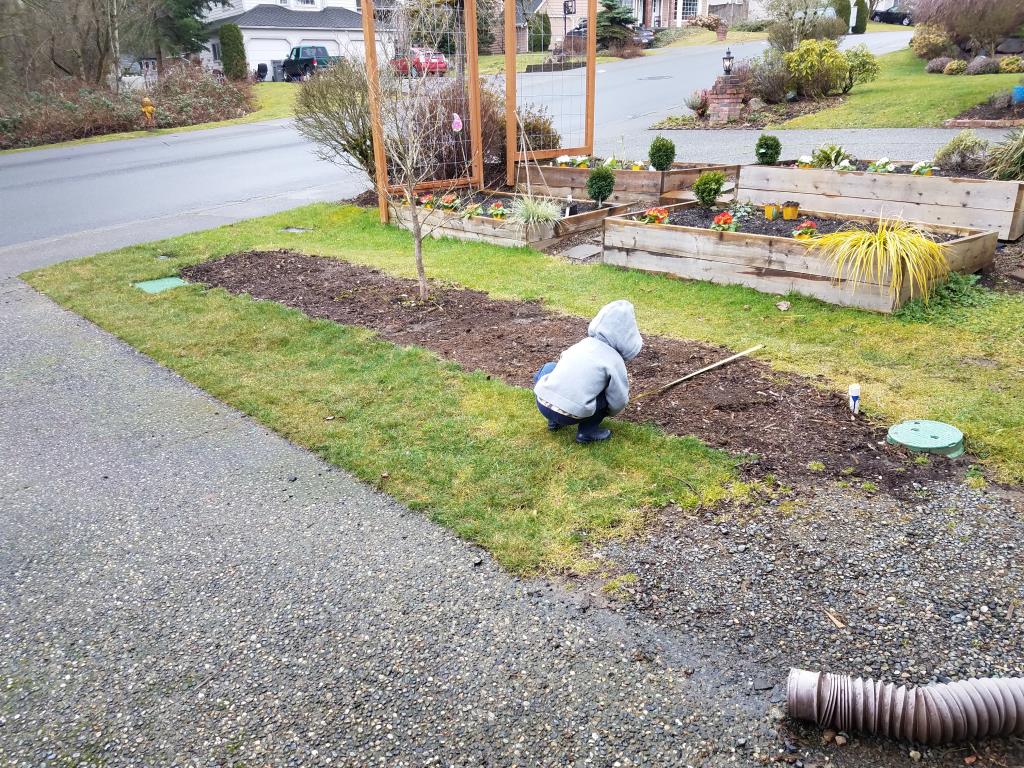
This fall we will be planting at least one new tree in that spot and then next spring I think we’ll make some planter boxes to start a small garden. It will be tiny compared to our neighbors beautiful garden, but it will still be delicious.

Logan, thanks for helping so much with this project!

stumpgrinding