Studio711.com – Ben Martens

lasercutter

WiFi Password

Now that we have a house with a dedicated guest room, I thought it would be nice to put a little sign in there that has the guest WiFi network and password. When I took my last trip to the laser cutter at work, I brought along a scrap piece of cherry and etched it right in. It’s a good reminder that projects don’t have to be complicated to be fun.

wifisign

Custom Ammo Cans

Making projects for birthdays is fun but it’s so hard for me to wait to share pictures of them! Ken’s birthday is today and Logan’s birthday was yesterday and they both got customized 50 cal ammo cans. The cans came straight from Amazon and then I used the laser cutter to cut stencils out of paper. I used spray adhesive to stick the paper to the cans while I covered them with rubber spray paint. The adhesive stayed on the can a little more than I had intended but they came out ok. I’m not sure if the spray paint will stay on the metal or if it will peel off too easily. If it does then we’ll just do it again but next time I’ll scuff up the metal first. The back side of the cans got a “serial number” involving their initials and birth dates.

Happy birthday guys!

customammocans

Family Sign

I’ve had a couple laser cutter project posts recently, but the real reason I learned how to use it is because Tyla wanted a family sign. She found some on Etsy that she liked but we didn’t like the prices. My first thought was to cut them out on the bandsaw but I quickly realized that would take forever and I wasn’t sure I could cut out the smaller letters.

The laser cutter made quick work of the letters and then it was just a matter of painting them and painting the backing board. It has been really cold and wet around here but I managed to get it all done and assembled.

The dimensions on the sign came out as planned, but it feels pretty big now that it’s in place. It’s growing on me though. The nice thing is that this was made out of scrap wood with only a few hours of work. Most of the time was just doing the painting and letting that dry.

You can’t see it in the photo below, but the letters are made out of 1/8″ wood so they are raised up from the backing board. It’s a nice 3D effect and gives really crisp lines.

familysignoverdoor

Seahawks Skyline Cutout

There are some pretty cool custom Seahawks signs floating around Etsy and local craft fairs. I decided to try making my own on the laser cutter. I spent a bunch of time in Inkscape modifying/drawing a logo. I don’t take much credit for the design. It’s largely a copy of other ones that I have seen, but I’m really happy with how this one turned out. It can be cut at any scale but this one is a little over 20″ wide.

seahawkswoodsign

Custom Mario Coins

One of the first projects I attempted on the laser cutter was making some acryllic coins for my nephew. He loves Mario and I thought that it would be a good learning opportunity for me and something fun to maybe spark his interesting in making things.

The design is pretty simple. It’s just the Mario logo on one side and his name on the other side. I etched a circle around the outside of the coin on both sides. When I etched the first side, I also cut out the coin. Then I carefully flipped the coin over without moving the rest of the piece and cut the back. They weren’t perfect because there’s a little slop in that flip but they came out pretty well.

customcoins

Laser Cutter

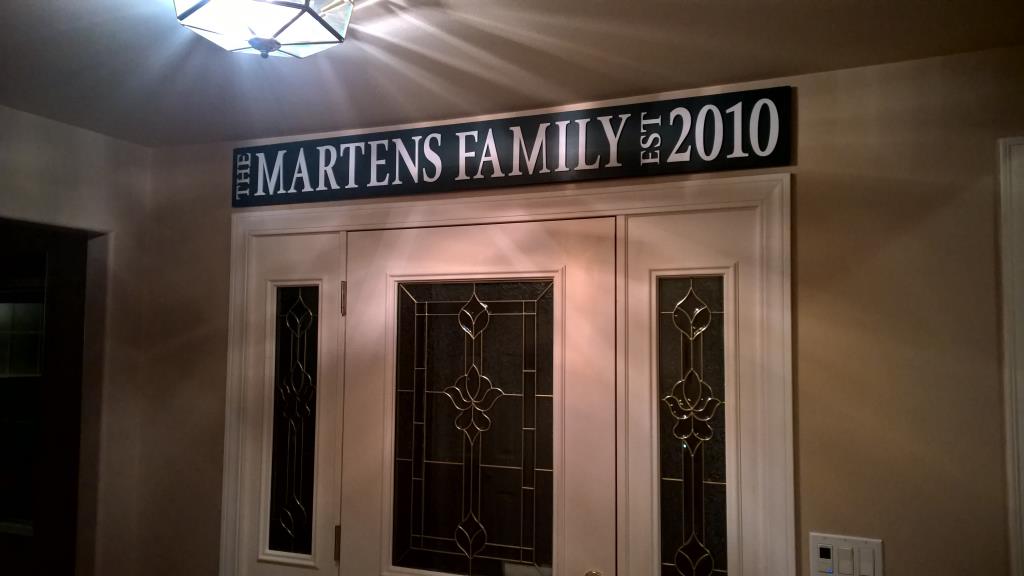
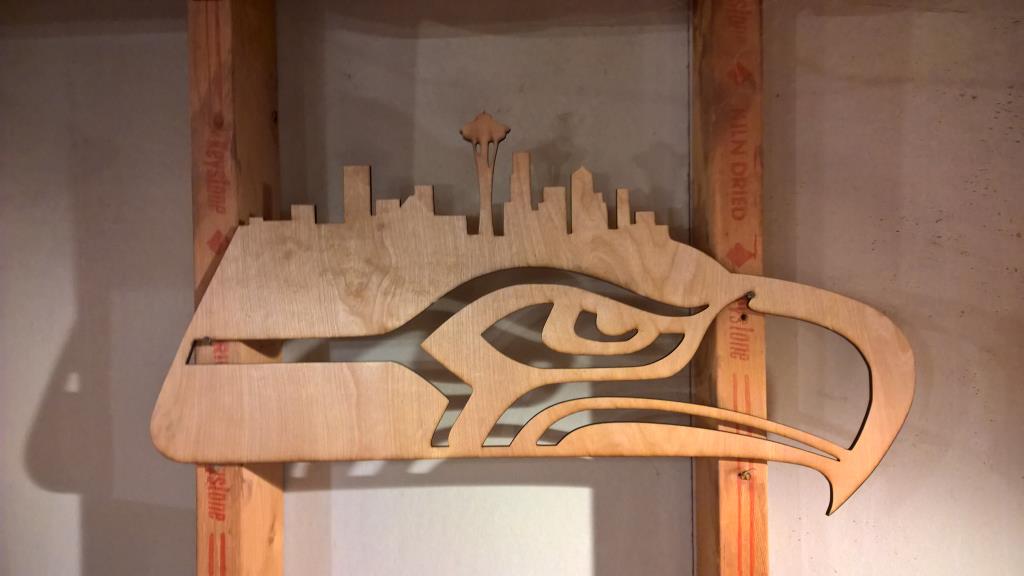
Tyla has been looking at customized family signs on Etsy. She had a hard time finding one that was the right size and design and I had a hard time paying that much for a piece of painted plywood. We joined forces and designed our own custom sign. Instead of painting it, I wanted to cut each letter out so it would look a little more interesting.

I designed it on the computer, printed off the large tiled pages and then spray glued the first letter onto a thin piece of wood. I don’t have a scroll saw so I put the 1/4″ blade on my bandsaw and got to work. Between the sawing and sanding I realized it was going to take a LONG time to get through the entire sign. Time for plan B.

At work they have a “Maker Garage” for employees to use for free. It’s full of a bunch of tools that you need to get projects done like a drill press, soldering irons, etc. There’s a big community around it that shares ideas and teaches new skills. They also have an “advanced” part of the room that contains more expensive tools. You have to go through training to use them but there are some incredible machines in there including a milling machine, CNC, a couple different 3D printers, an computer controlled embroidery machine and two laser cutters. I’m excited by all of those things but the laser cutter had one of the easier onboarding processes and it was exactly what I needed for this project.

It took a few hours of online and in-person classes but I’m now certified to use their laser whenever I want! I just have to provide my own materials or scrounge through the scrap bin. It can either cut all the way through material or etch it. Obviously it will only etch some materials like stone, but you can either cut and/or etch lots of materials like acrylic, wood, leather or even food. Basically you can do anything you want as long as it’s not reflective to the laser, it’s not going to immediately catch fire, and it doesn’t release poisonous gas when it’s cut.

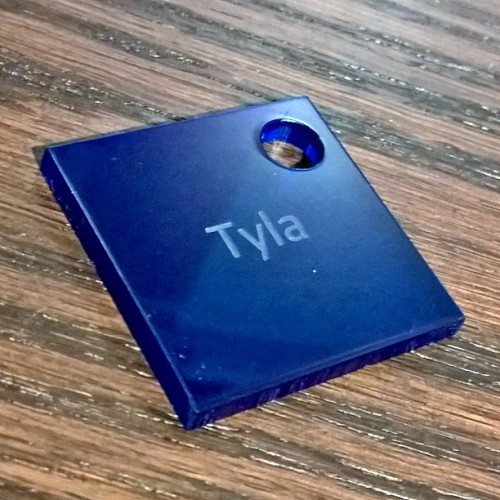
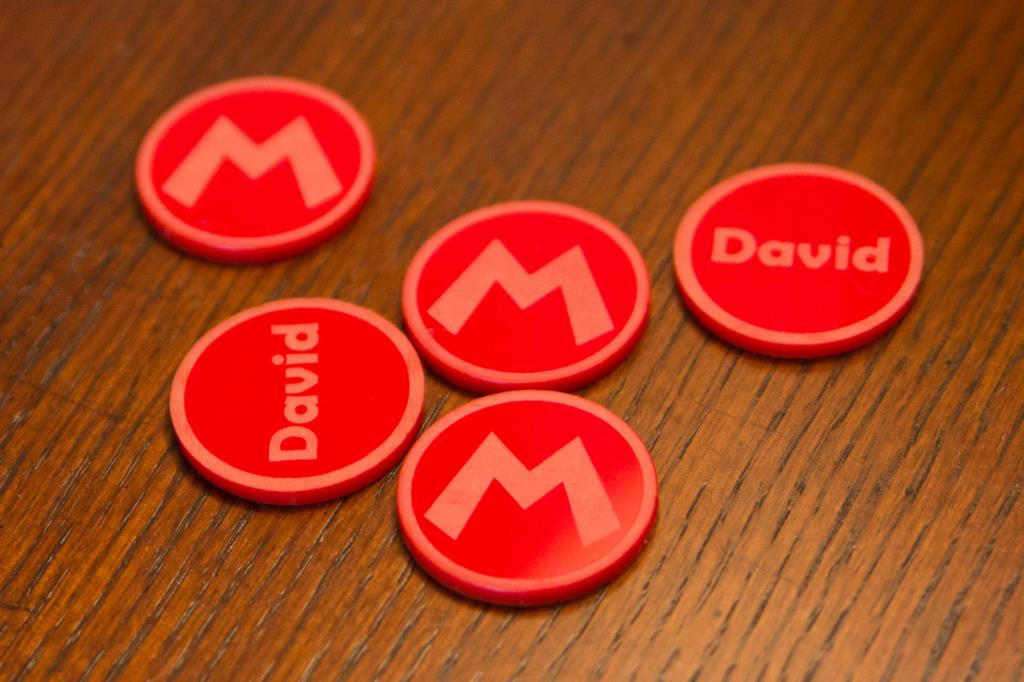
To pass the training class, we had to modify their sample and successfully make a safe cut with some simulated problems along the way. So what you see below isn’t anything fancy, but it’s my first output from the laser cutter! Thank you Tyla for spending extra time with Elijah alone at home while I finished this training.

firstlasercutter