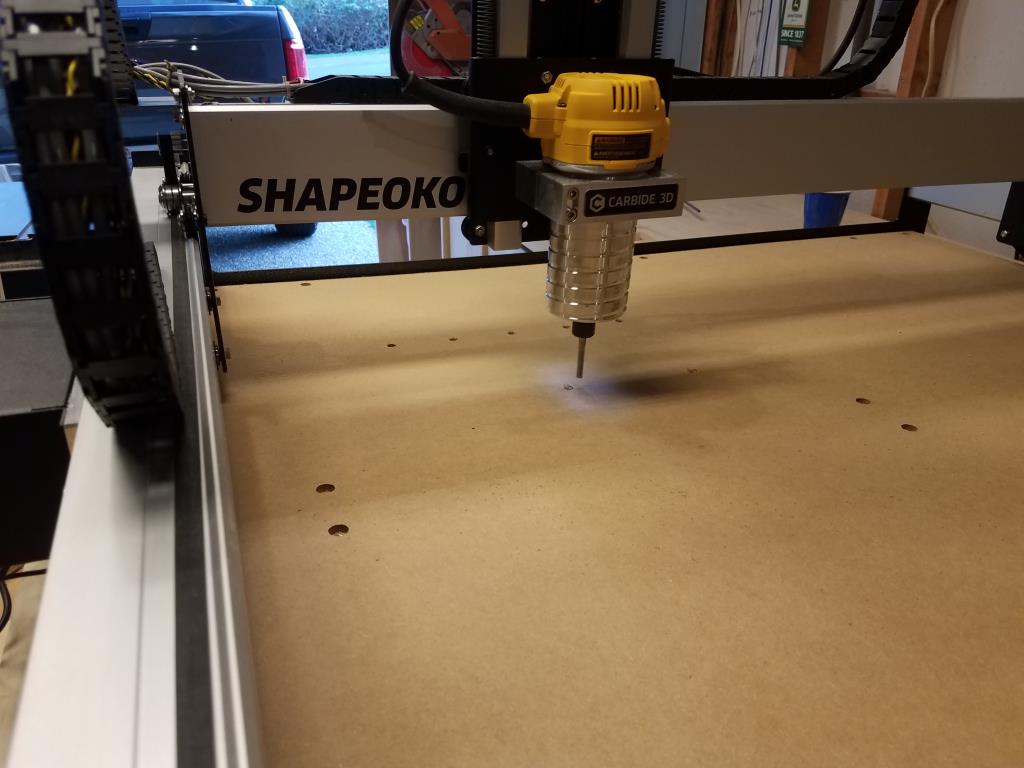
After years of hemming and hawing, I jumped on the Shapeoko Black Friday deal this year. It took me a while to get around to unboxing and assembling it because I was finishing up some Christmas gifts, but now that I’ve gotten started on my CNC journey, I want to share some thoughts.
- Cost – There’s no getting around the fact that this is expensive. I mean, this is a high tech piece of equipment that would have been completely out my grasp 10 years ago, but I think the cost part that bothers me is that this isn’t going to hold it’s value like a table saw. This is a point-in-time snapshot of technology and new models will continue to outpace what I have today. Most of my hobbies have a point where I spend a bunch of money on something fancy and then lose interest and kind of regret my big purchased. I’m really hoping that this CNC purchase isn’t that point for woodworking.
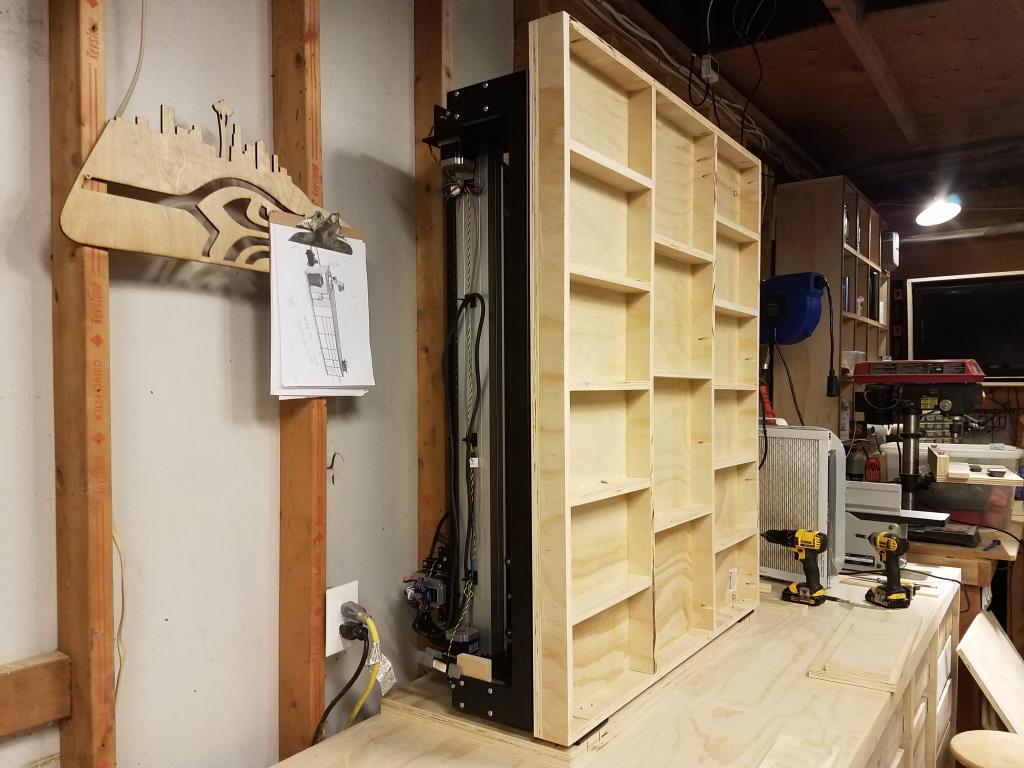
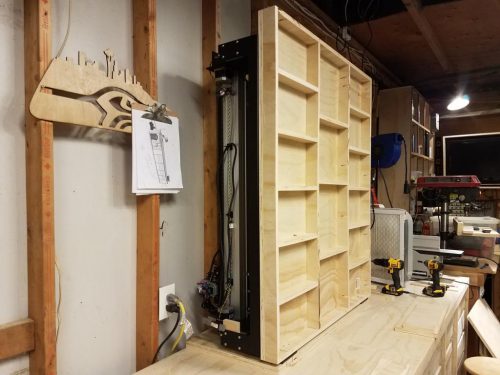
- Size – I went for the XXL version, which, as the name implies, is the biggest one they sell. The cutting area of the smallest one is 16″x16″ but my version is 33″x33″. I still haven’t decided if that was a good move or not. It’s huge and my shop is not. I’m starting to feel better about the choice now that I’ve built a shelf that flips up against the wall. Storing it vertically is probably not idea in terms of fine tuning the machine, but there aren’t a lot of good options available in my small shop. It’s a beast to raise and lower though. I think the whole machine and table probably way at least 120 pounds.
- Complexity – While setup of this machine is dramatically easier than something like an XCarve, it’s still not a turn-key solution (that’s one of the reasons why it’s cheaper than other options.) The time from purchase to first success is a LOT longer than any other tool in my shop. I spent probably three or four hours getting it “set up” but that’s really only the start of the journey. Want a way to hold down your material? You need to figure that out and implement it. Want to make sure your bed is flat? You can create a job to do that but you oh wait, if your spindle isn’t perfectly square to your bed you won’t have good results. Want to make sure your spindle is square to your bed? Build or buy a tramming device and spend a long time shimming and tweaking. And even once you plow through all of that, you need to get familiar with the software and spend a good chunk of time drawing out your design using vector art on the computer, setting up the correct tool path for the machine, getting your feed rate correct so you don’t cut off a bit, etc. As I’m going through all of this, I kept comparing it to my table saw upgrade which was in a similar price category. The table saw had a similar unboxing time requirement but then I was instantly more productive. That’s far from the case with a CNC machine. If you’re not up for a massive amount of learning and experimenting, CNC is not for you or rather, the DIY end of CNC isn’t for you. There are other products like the Nomad from the same company which are a much easier experience. With those tools, you can focus more of your effort on the programming/drawing side of things but you also pay for that privilege.
As you can tell, I’m still nervous about whether this was a good purchase or not. One thing I realized is that every time I hit another step, I’d go online to try and learn from people who had gone before. That’s generally helpful but it can also be a quagmire of indecision as there are a ridiculous number of different ideas about how to do something that seems as simple as holding your work piece safely to the bed so it doesn’t fly off when the spindle touches it. I finally gave up on trying to do a “smarter” version of every single step and decided to just plow forward with something that seems good now. I’ll learn and redo things as I go. There’s just too much knowledge to ingest without some background experience.
My first big step was drilling a bunch of holes into my waste board. I bought a pack of 50 threaded inserts from Amazon and drilled a pattern of holes all the way through the waste board. Then I installed the threaded inserts from the bottom of the waste board. Now I can use those as mounting points for hold down clamps (which I still need to fabricate.) A tutorial on the Shapeoko website was really helpful for that project and I’ll probably use their hold down clamp tutorial too.
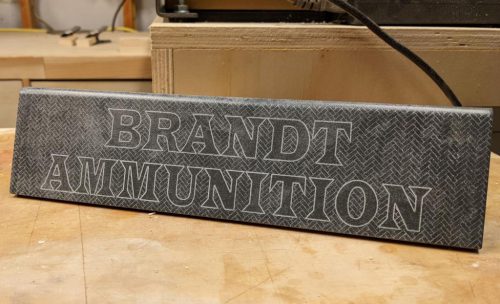
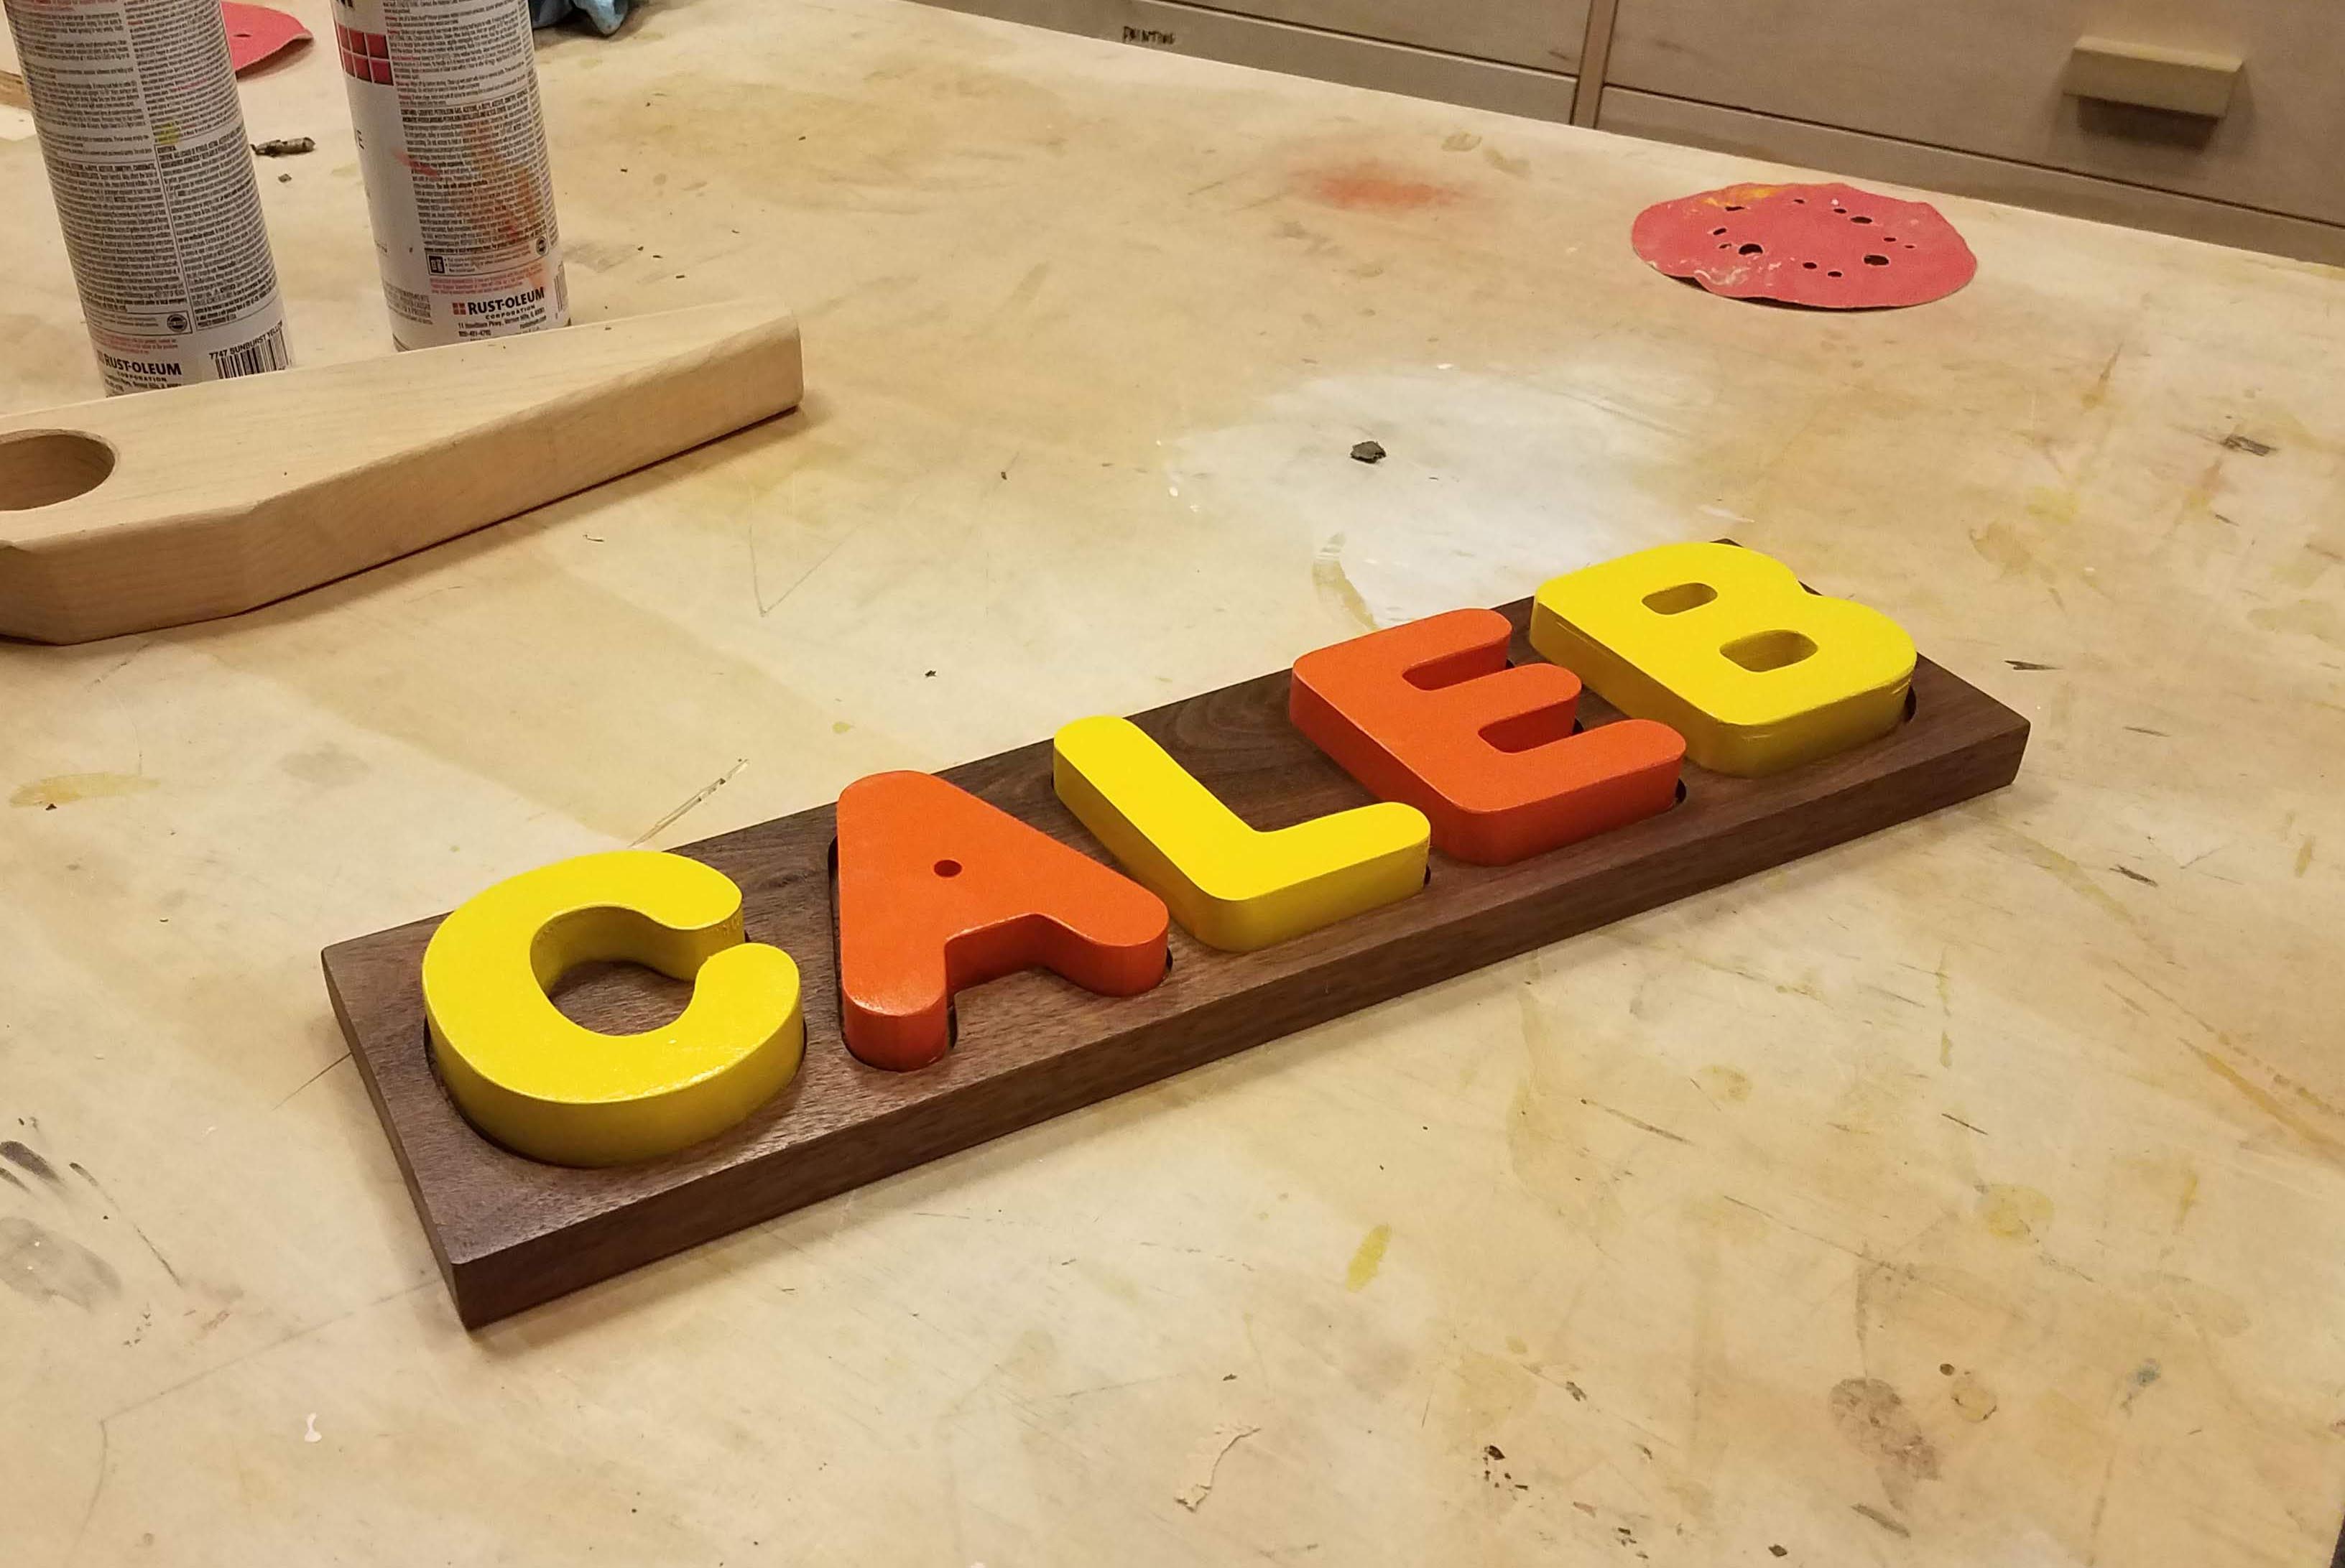
My first project is going to be a zero clearance insert for the table saw. I have a fancy one from Grizzly that works well for most cuts, but it’s nice to have the zero clearance inserts for the dado stack, angled cuts, etc. Once I have down the work to program it all on the CNC, I can whip out new ones very quickly and cheaply. This is kind of a silly project because I can make one by hand in probably 20 minutes or so, but it seemed like a useful project with a low level of difficulty before I jump into something more complex like making a sign.