
A little over a year ago, I started off in the RC hobby with the intent on flying a quadcopter carrying a camera. I quickly learned that this is a difficult place to start so I fired up a flight simulator, built some extremely cheap foam board airplanes and then flew some nicer airplanes (Bixler 2 and UMX F4 Corsair.) I also picked up a Nano QX quadcopter to fly around the house and learn a bit about flying quads. I’m not a pro by any means, but I learned a LOT about RC flight and about the electronics that are part of the hobby.
I decided to take the plunge and get a real quad. There are lots of options out there. The most popular ones you see in the stores and in the news are things like the DJI Phantom, but they are pricey. For example, the Phantoms start around $500 and go over $1000. And you know what happens when you crash? You shell out more money for the custom replacement parts. No thanks.
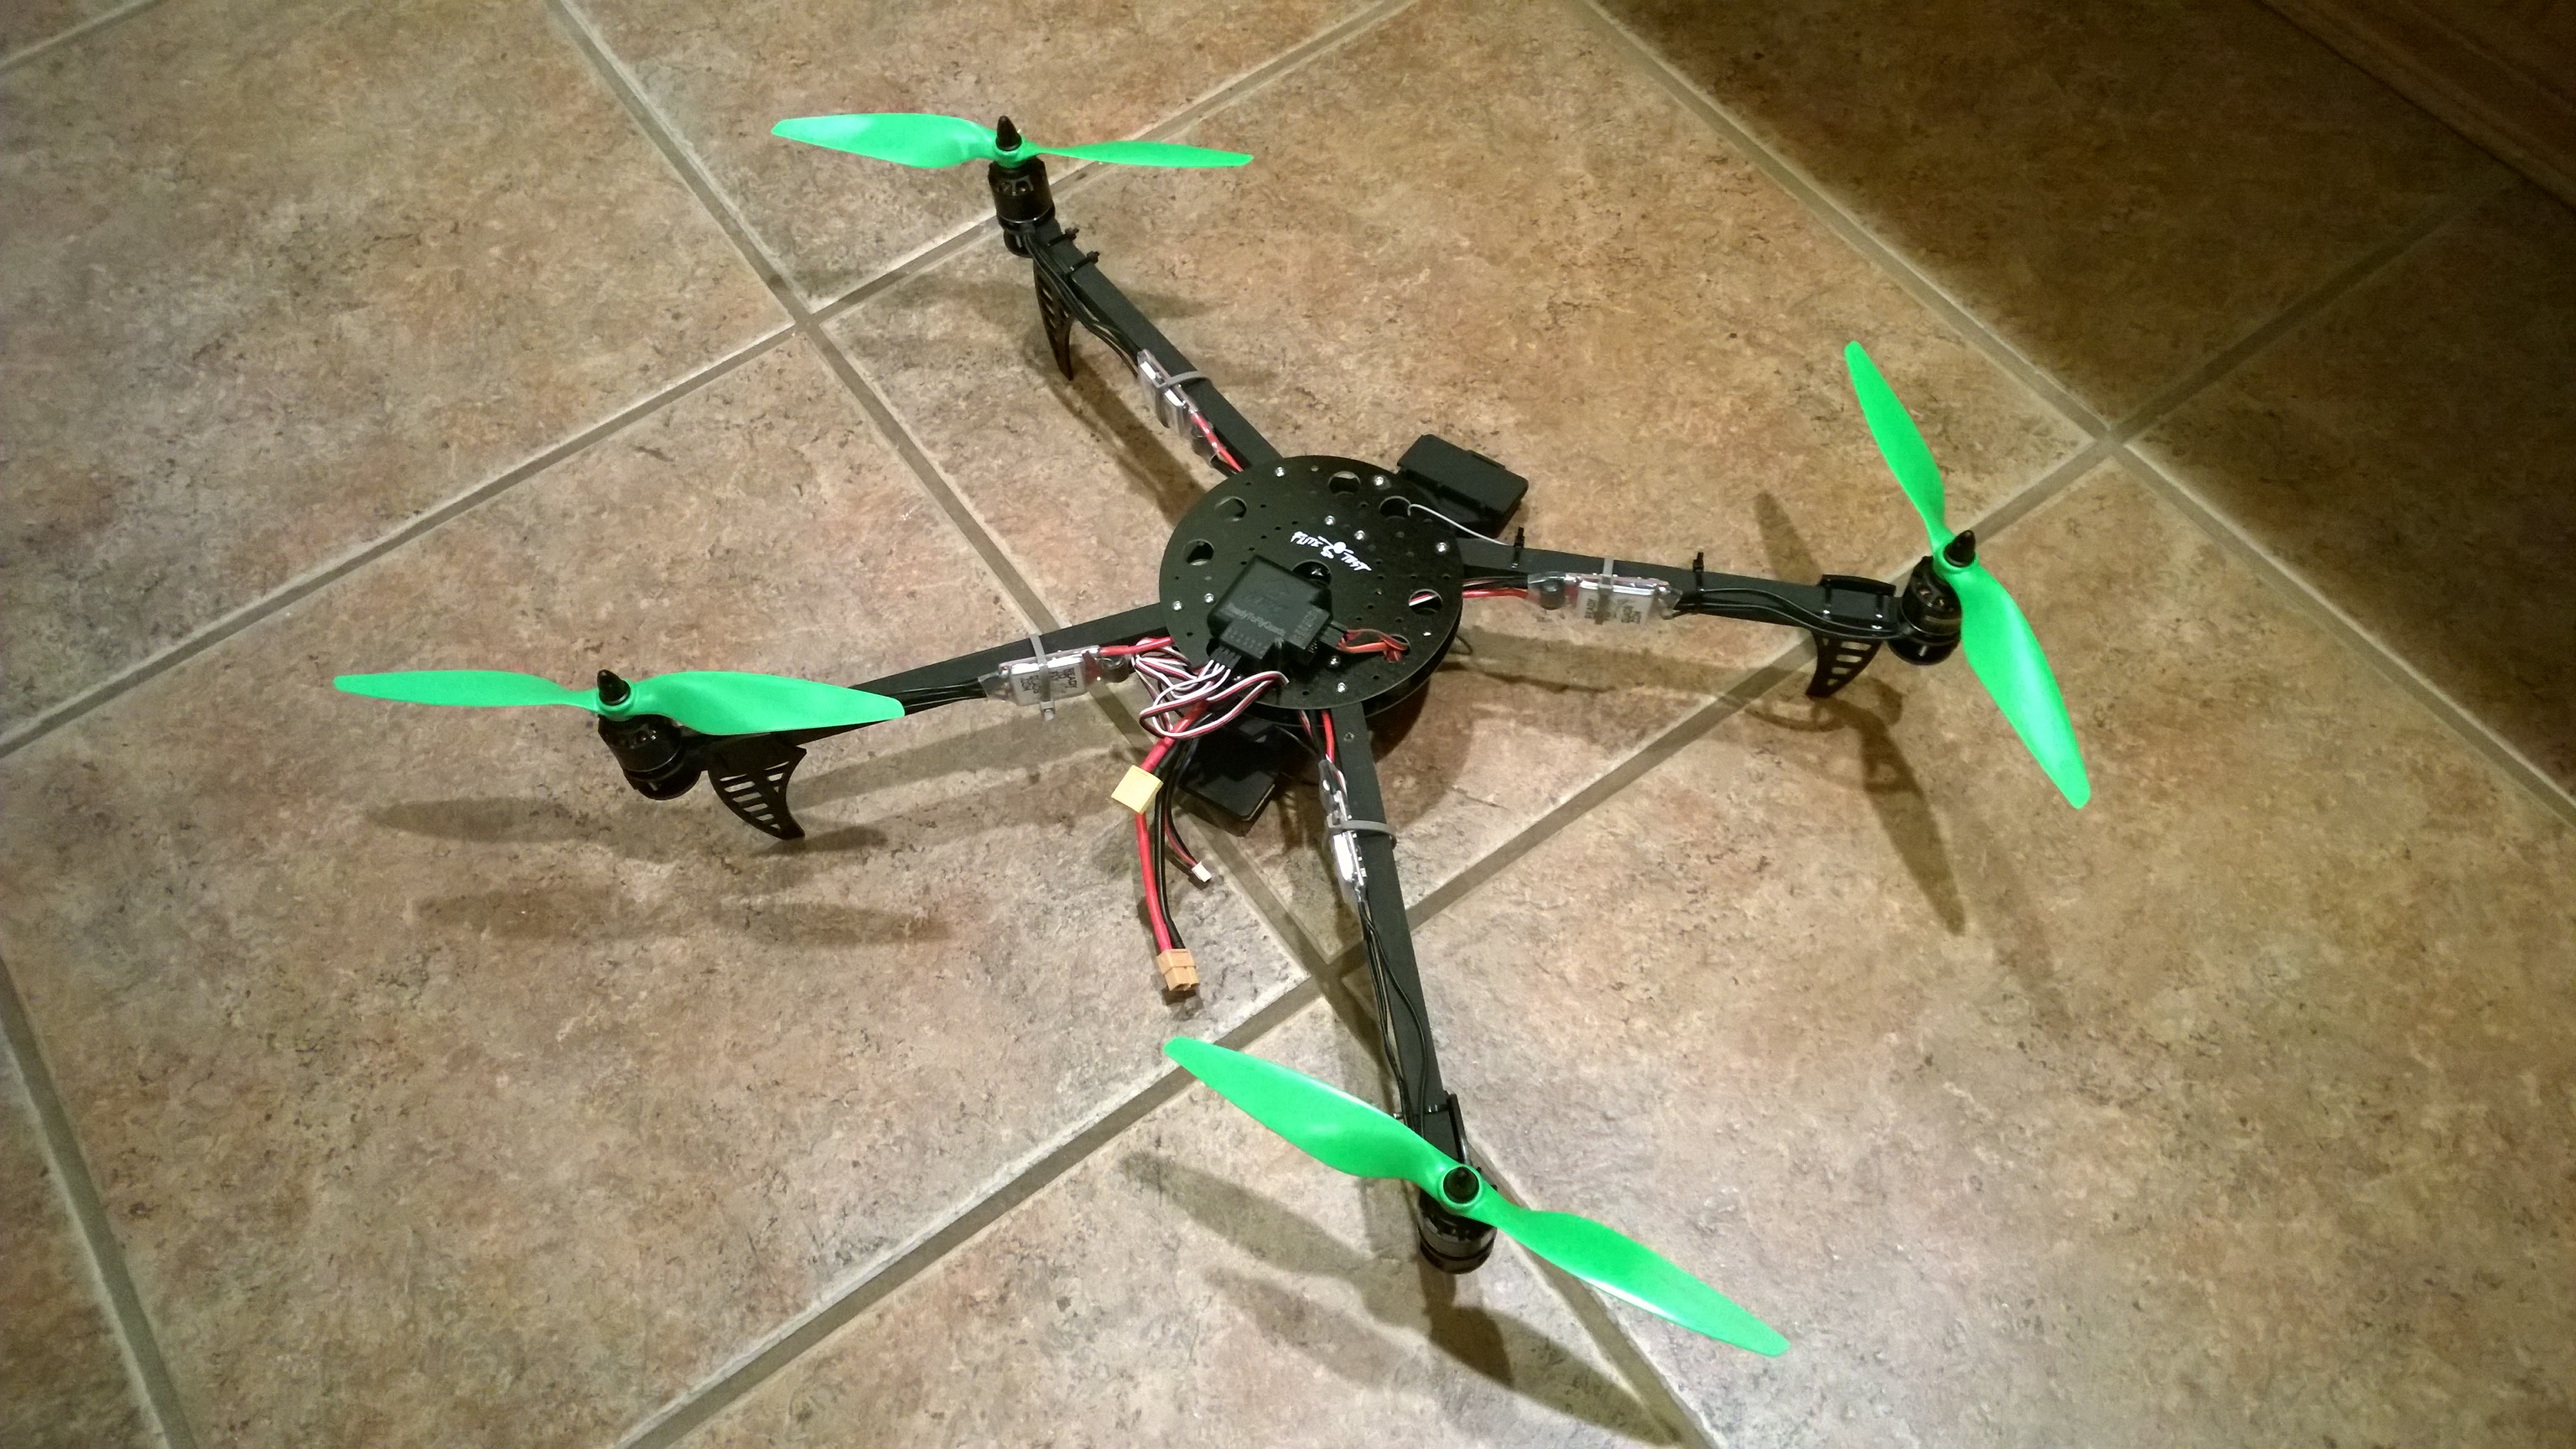
Instead, I bought a kit from Flite Test for their ElectroHub and also bought the accompanying electronics kit from Ready To Fly Quads. The whole thing, including tax, was under $230 and that includes some spare parts that I know I will break (props, landing gear, etc.) Building it from scratch takes a bit more work, but now I understand every piece of the puzzle and when something breaks, I can fix it with off the shelf parts that are cheap and easily available. FliteTest has a full build video showing all the steps.
 The FliteTest guys say it takes them a couple hours to put one together. It probably took me 5-6 because I was learning a lot and going very slowly and I also spread that out over a few days. Basically the steps are to assemble the arms, solder the wires for the speed controller to the motors, solder the speed controllers to the power distribution board, wire up the computer board and the receiver, triple check everything and then give it a shot.
 My first flight attempt was out on the back patio near dusk. I just wanted to lift off the ground and then land it to prove that everything was connected correctly. Unfortunately, it didn’t even get a foot off the ground before it flipped over and crashed. D’oh! Thankfully nothing was damaged but I did lose the spinner that holds the prop on.
That ended up being the key to diagnosing the crash (with the help of some friendly community members on the FliteTest forums.) The best guess is that the prop fell off when I took off because it wasn’t on tight enough and that, of course, caused the computer to freak out and flip over. I pulled a 5mm nut off my workbench, reattached the prop and I was ready to fly again!
By this time it was dark so I pulled the cars out of the garage and tried again. It worked! I hovered for about five minutes and landed safely multiple times in that period. A video of that is included at the end of the post.
Next steps are to wire up some LED lights (to help with orientation and to look cool), get the nerve to load a GoPro onto the camera tray, and also see if the board has any other cool features like auto hover, altitude hold, etc. The board is a modified Arduino and the sketch files are provided so you could theoretically do whatever you want. I’ll leave that to the pros though and just buy the finished product.
This was a huge victory for me though. Now I need to work on my piloting skills and be able to fly this safely. One big advantage of the quad is that I can work on this in the back yard, the cul-de-sac, or even in the garage! I don’t have to drive anywhere to learn more of the basic skills.
By the way, you might have noticed that this isn’t a perfect X configuration. That’s why this is called a “spider” configuration (or a “dead cat.”) The front arms get spread out a bit farther so that you can get a good field of view from your camera on the front.
It’s awesome that you can learn a seemingly complicated hobby like this using only YouTube and forums. Thank you to all the friendly people at FliteTest!
That is so cool! I just ordered the kit but went with the APM 2.6 board.
Thanks for the report and video
Good luck
Jim