
After making a simple zero clearance insert with my new Shapeoko 3 XXL, I wanted to try something else fairly simple but slightly more challenging. Ever since I installed our Ecobee 3, I’ve wanted to replace the white plastic plate that goes around the thermostat. But building something that has a nice shape and fits well would be a challenge so I dropped it in my “if I ever get a CNC” project list.
To get started, I grabbed a photo of my model online (there are a lot of slight variations through the years!) and traced around the outside in Inkscape. I used some cheap 1/4″ MDF as test pieces on the Shapeoko and after 4 attempts with tweaks in between, I had a good fit around the thermostat.
Then I added a lot more complexity. Instead of just being cut out, that original hole that I designed became a pocket in the material. I added in a hole all the way through the back for the wires and two more for the mounting screws to pass through. That all went pretty smoothly but the tricky part was making room for the vent on the bottom of the thermostat to exhaust air but not making the vent bigger than it needed to be. I’m still not convinced I have that designed as well as I could, but it got to the “good enough” point after 4 attempts in 3/4″ pine.

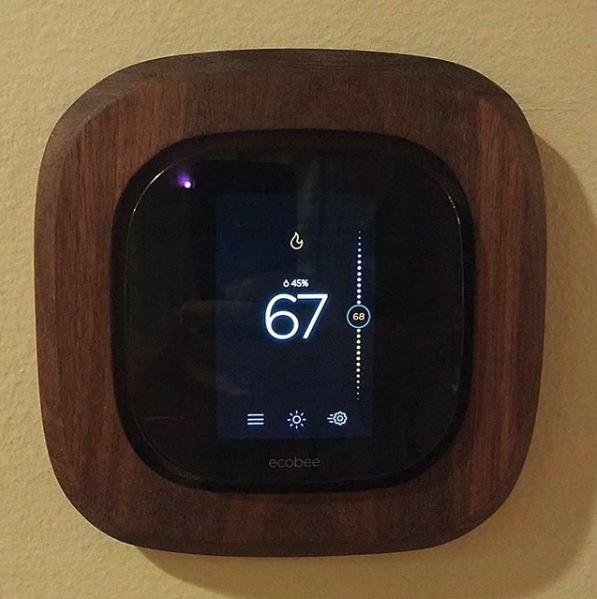
For the final cut, I milled up some walnut and put it on the CNC. The first attempt went ok but ended up failing near the end. Despite slowing down the program to account for hardwood, I think I was still a little too aggressive and I might have had the router carriage adjusted a little too loosely. The second attempt went slower (about 35 minutes instead of 20 minutes in pine) but it came out perfectly. I finished up with some sanding and routed a chamfer around the outside using the router table. I finished it with a coat of boiled linseed oil and mounted it on the wall.
 This project really made me feel the value of the CNC. It was awesome to tweak my design by fractions of an inch and have a completely new part in under half an hour. It’s a lot easier to experiment than if I was trying to do this all carefully by hand.
Fun fact: about 80% of the way through this project, I was installing a test plate and when I put the thermostat on, it didn’t turn on. Of course this was the last thing I was doing before going to bed. After some panic and opening up service panels on my furnace, I found a fuse that had blown. The next morning, I called my favorite HVAC expert, and verified that replacing the fuse would work. After a quick trip to the store and $2, I was back in action, but boy was that a cold and stressful night! Always turn off your equipment before working on it!
Man! That really enriches the look. I don’t think I have ever seen a better looking thermostat. And I don’t remember even thinking about improving the looks of a thermostat. Good thinking. Nice ceativeness. Great job!